
Thanks for stopping in!
I’m Jess, the founder of Mad in Crafts, and I am so happy to see you! I love sharing crazy good creativity from my Mad House to yours, so kick off your shoes and stay awhile. I created Mad in Crafts to be a place where everyone can find inspiration to spark creativity.
Take a look around and you will find easy craft projects, home DIY tutorials, party ideas, recipes, and more!

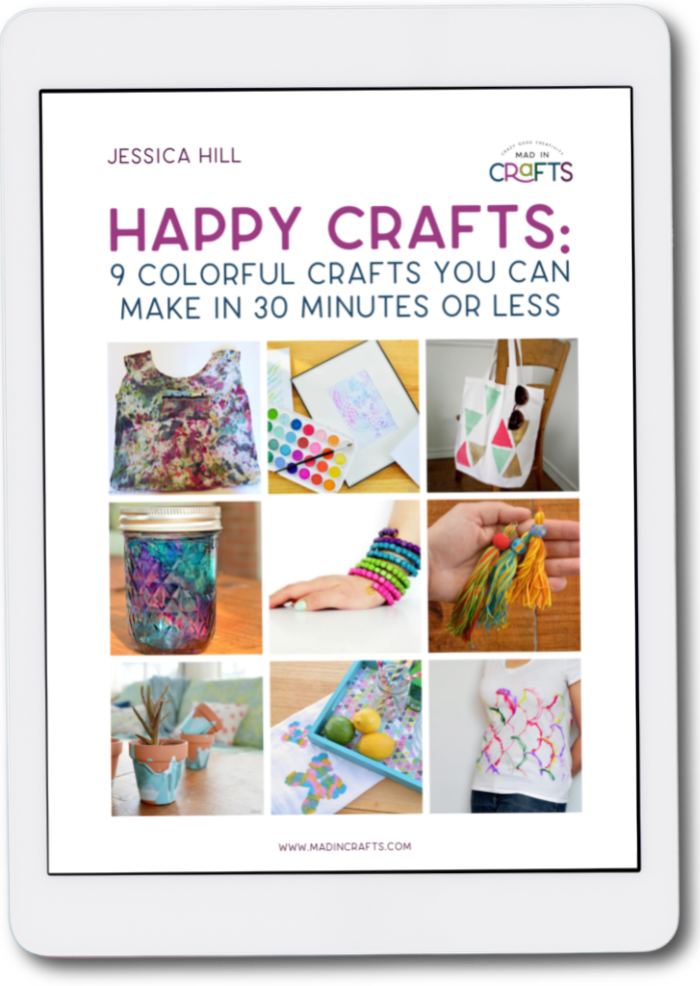
FREE EBOOK!
Sign up for our newsletter and receive a free copy of my ebook, “Happy Crafts: Nine Colorful Crafts You Can Make in 30 Minutes or Less.”
Spoil Mom this Mother’s Day
-

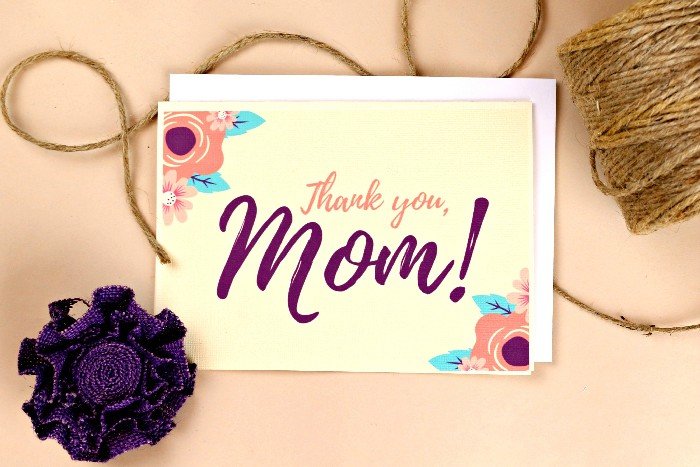
MOTHER’S DAY CARD PRINTABLES
Show your mom how much you love her this year by giving her a beautiful floral Mother’s Day card. Give her the card along with a bouquet of fresh flowers, Read More -

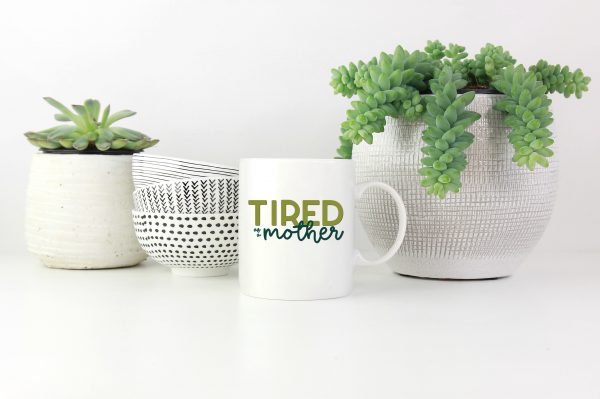
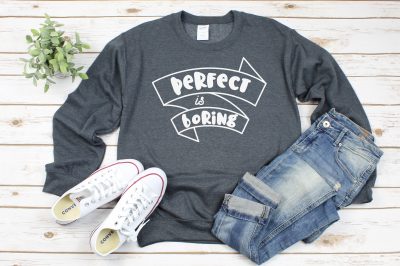
FREE TIRED AS A MOTHER SVG FILE
You really don’t know the meaning of tired until you are two months into having a newborn in the house. The physical and emotional exhaustion are deeper than any other Read More


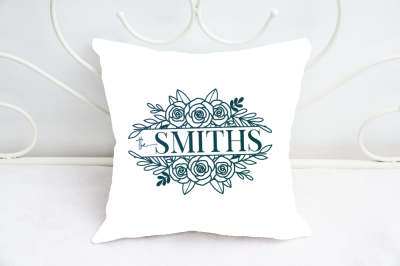


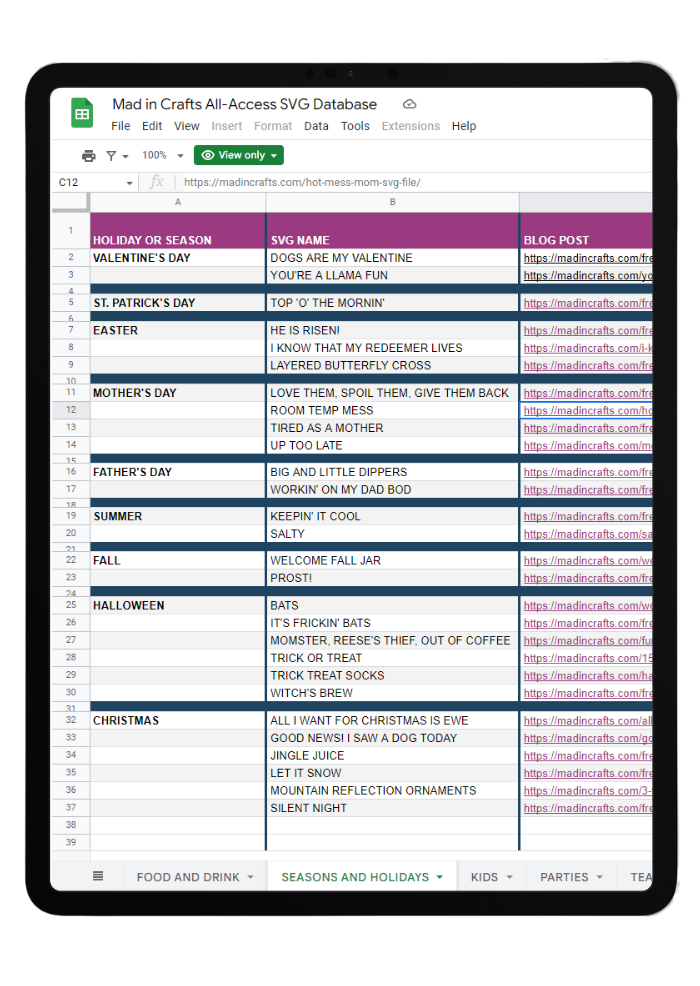
ALL-ACCESS PASS
For the past 4 years, I have shared single SVGs on the blog, but there was no way to access all of the SVGs at once. Now with this All-Access Pass, you are able to see and download every SVG I have ever shared on Mad in Crafts from one organized spreadsheet!